Effective PCB Debugging Methods for New Circuit Boards
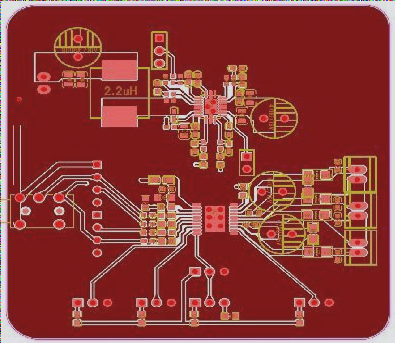
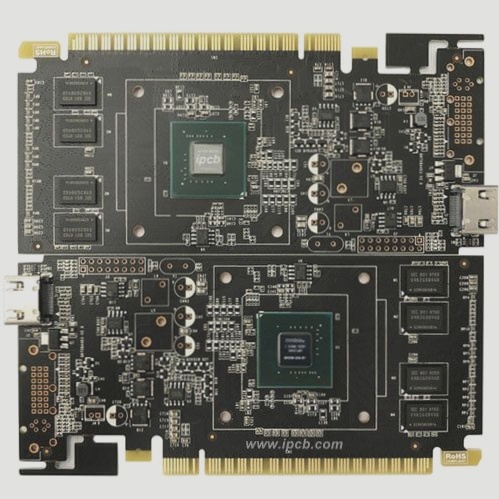
When dealing with a newly designed circuit board, debugging can be a challenging task, especially for larger boards with numerous components. However, having a systematic approach to debugging can significantly improve efficiency.
Initial Inspection and Component Installation
- Start by visually inspecting the board for any visible issues like cracks, short circuits, or open circuits.
- Check the resistance between the power supply and ground wire.
- Install components methodically, starting with independent modules installed one by one to verify functionality.
- For smaller circuits, components can be installed simultaneously to quickly identify faults.
Power Supply Testing
After component installation, focus on testing the power supply:
- Begin by installing the power supply and checking the output voltage when powered on.
- Consider using an adjustable regulated power supply with current limiting and overcurrent protection.
- Gradually increase the voltage while monitoring parameters to ensure proper functionality.
Fault Finding Methods
Various methods can be employed to identify faults in the circuit:
- Voltage Measurement: Check the power supply pins of each chip for normal voltage levels.
- Sensory Inspection: Observe for mechanical damage, unusual sounds, smells, and abnormal temperatures during operation.
- Signal Injection: Apply a signal source to the input terminal and measure waveforms to pinpoint faults.
WellCircuits Limited: Leading PCB Manufacturer
WellCircuits Limited specializes in high-precision circuit boards, offering a wide range of products to meet diverse customer requirements:
- HDI PCBs
- Backplanes
- Rigid-flex boards
- Buried capacitance boards
- Buried resistance boards
- Golden Finger boards


