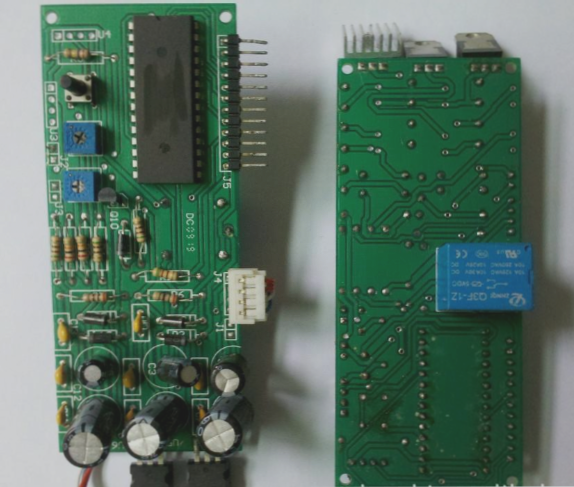
Essential Steps for BGA Soldering on PCBs
- Before soldering a BGA, it is crucial to bake both the PCB and BGA in a constant temperature oven at 80°C to 90°C for 10 to 20 hours. This process helps remove moisture, and the baking temperature and time should be adjusted based on the moisture level.
- When soldering, wear an electrostatic wrist strap or anti-static gloves to prevent static electricity damage to the chip.
- Accurately align the BGA with the pads on the PCB before soldering. Manual alignment, aligning the BGA’s circumference with the silkscreen markings around the PCB pad, is commonly used.
- Even if the BGA is not perfectly aligned during the process, with a deviation of about 30% between the solder ball and the pad, soldering can proceed as the tension between them will automatically align them during melting.
- After alignment, secure the PCB on the BGA rework station bracket to ensure level placement.
- Select an appropriate hot air nozzle slightly larger than the BGA and a corresponding temperature profile for soldering.
- Once the temperature profile is complete, allow the assembly to cool down to finish the BGA soldering process.
When soldering PCB circuit boards, various plating methods are utilized. These methods play a significant role in the soldering process, ensuring a reliable connection between components.

