Important Steps for PCB Troubleshooting
1. When dealing with a faulty PCB, it’s crucial to proceed methodically to avoid causing further damage. Rushing into repairs without a clear plan can complicate the situation. Focus on essential tasks to efficiently address the issue.
2. Start by gathering detailed information about the reported fault from the user. Understand when the problem occurred, the circumstances surrounding it, and any associated warning signs. Direct communication with witnesses can provide valuable insights. Distinguishing relevant details from irrelevant ones is key to effective troubleshooting.
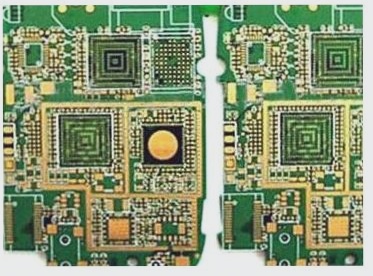
3. Perform a visual inspection, known as “kanban,” on the circuit board. Many faults are visible upon inspection and can offer valuable clues. Look for burnt components, damaged traces, corroded connectors, and other visible signs of malfunction. This initial inspection is critical in identifying the root cause of the problem.
Key Aspects to Consider During “Kanban” Inspection:
- Inspect components and traces for damage, such as burnt parts, rusted leads, or leakage from capacitors.
- Check for previous repairs, as they may introduce new issues if not done correctly.
- Take note of the production date of ICs to assess potential component aging and failure risks.
By following a systematic approach and paying attention to visible clues during the inspection, you can effectively diagnose and address PCB issues. Understanding the history and condition of the board is essential for successful troubleshooting.
Kanban Inspection in PCB Repair
When inspecting a circuit board using the Kanban method, it’s crucial to do more than just visually examine the board. Analysis and critical thinking are key components of this process. Despite the lack of schematics for most circuit boards, experienced technicians have the ability to mentally “visualize” the circuit. By looking at the board, they can infer its design, component layout, and overall functionality. This mental map enables technicians to quickly and accurately develop a repair strategy.
Mental Mapping for Troubleshooting
By mentally mapping the layout and functions of components, technicians create a mental schematic that guides troubleshooting efforts. If no obvious faults are detected during visual inspection, further testing using tools like multimeters, oscilloscopes, and in-circuit testers is necessary. Multimeters can check continuity, diodes, and resistance, while in-circuit testers can measure component characteristics like the VI curve.
Testing Power Supply and Components
The power supply is often the root cause of many failures in PCBs. It’s essential to check parameters like voltage levels, current capacity, and ripple to ensure proper operation. Power-on testing with a transformer and adjustable DC power supply can simulate normal operating conditions and help identify faults.
Interrelated Failures and Post-Repair Process
Many PCB failures are interconnected, where a fault in one component can lead to failures in others. Thorough investigation is crucial in such cases. After repair, meticulous attention to detail is necessary to ensure components are correctly installed and voltages are applied with the proper polarity.
If you have any questions about PCB repair, feel free to contact us at info@wellcircuits.com.