Understanding PCB Keyboards and How to Test Them
What is a PCB Keyboard?
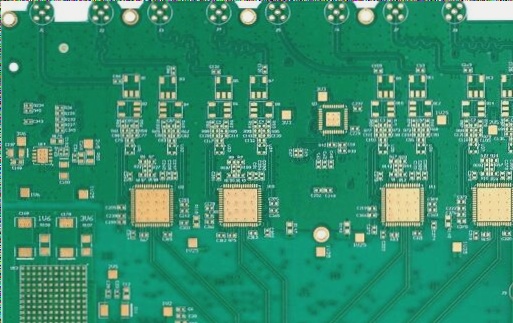
A PCB keyboard, short for Printed Circuit Board keyboard, is a type of keyboard where switches are directly soldered onto the board. When a key is pressed, the corresponding function is executed without any intermediary components. Each PCB has unique functionality based on the keys soldered onto it, but all PCBs serve as the brain of the operation. Understanding how a PCB works on a keyboard is crucial for efficient performance.
Types of PCB Keyboards:
There are different types of PCB keyboards that cater to various user needs:
- Standard PCB:
A standard PCB has keys soldered onto the keyboard and offers flexibility in layout and key positioning. It is suitable for both beginners and advanced users, allowing for customization in terms of layout, such as ISO and ANSI options, split backspace, and more.
- Hot-Swappable PCB:
Hot-swappable PCBs come with sockets pre-soldered, making them beginner-friendly as no soldering is required unless a socket needs replacement. Users can easily install stabilizers and switches without soldering, making it convenient for beginners.
- Through-Hole PCB:
A Through-Hole PCB requires soldering of various components like diodes, resistors, and microcontrollers for full functionality. This type is more complex and time-consuming, not recommended for beginners due to the intricate soldering process.
Tools Required to Test a PCB Keyboard:
Testing a PCB keyboard necessitates the following tools for an efficient and accurate test run:
- Metal Tweezers:
Metal tweezers are essential for testing purposes. In the absence of metal tweezers, a paper clip can be used as an alternative with the help of pliers.
- Printed Circuit Board:
A Printed Circuit Board is a must-have for testing a PCB keyboard. Handle the board delicately to avoid damaging any electrical components.
- Compatible USB Cable:
For connecting the board to a computer, a compatible USB cable is required. The type of USB cable needed depends on the PCB specifications, such as USB-C, Mini-USB, or Micro-USB. Some PCBs support multiple USB cable types, allowing for interchangeability.
Switch Testing Software:
When it comes to PCBs, switch testing is crucial. To ensure accurate results, you have the option of using either Switch Hitter or VIA software, depending on your PCB’s compatibility. If your PCB is compatible, downloading the VIA application can reduce connection distance, allowing for quicker link completion. If compatibility is an issue, Switch Hitter is your go-to, offering key testing activation and enhancing switch diagnosis complexity.

How to Test a PCB Keyboard?
Testing a PCB keyboard requires patience and attention to detail. Proper tool management on the board is essential for obtaining accurate results. Here are some steps to effectively test your PCB:
- Clean Your Workspace:
Ensure you have a clean workspace when unpacking your PCB to prevent any damage. Just like working with computer components, handle the PCB with care. Place a protective cloth underneath and maintain a tidy surface each time you work with the PCB, even though it’s durable. Taking precautions ensures longevity.
- Connect the PCB to Your PC:
After cleaning and preparing the PCB, connect it to your PC using a USB-compatible cable. Check for indicator lights on the PCB to confirm the connection. RGB lights or LED indicators will signal the connection status. Even without these lights, there are ways to verify if the PCB is operational.
- Open the Switch Testing Software:
Once connected, launch your chosen software, be it Switch Hitter or VIA. VIA offers a text matrix displaying the PCB layout and sound feedback for key testing. Switch Hitter provides full-sized layouts for testing. Utilize the software to identify functional and non-functional keys efficiently.
- Test Each Switch:
Using tweezers, test each switch by connecting the pads. A successful connection will trigger a color change on the software interface, indicating a working switch. Proceed methodically through each row and column, adjusting positions if needed. Different PCBs may have varied row and column arrangements.
- Customize Your Keyboard:
After mastering PCB keyboard testing, you can explore building a custom keyboard tailored to your preferences.
Conclusion:
Testing a PCB keyboard is a fundamental aspect of PCB expertise. By following these guidelines, users can enhance their skills and professionalism in this field. If you have further queries, feel free to reach out to WellCircuits pcba for assistance.