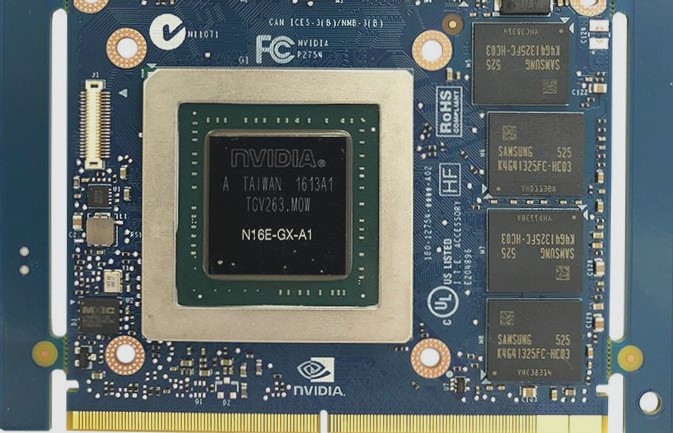
For a newly designed PCB circuit board, debugging can be challenging, especially with a large board and numerous components. However, by utilizing a set of effective debugging methods, the process can be more efficient.
When receiving a new PCB board, the first step is to inspect for any issues such as cracks, short circuits, or open circuits. It is also important to check the resistance between the power supply and ground wire to ensure it is sufficient.
During component installation, it is recommended to install modules independently and test each one before proceeding. This step helps identify any faults more easily. For smaller circuits, all components can be installed simultaneously.
Start by installing the power supply section first and power on to verify the output voltage. Consider using an adjustable regulated power supply with current limiting for safety. Monitor input and output voltages, as well as current levels during the adjustment process.
If no issues arise during power up, proceed to install the remaining modules one by one, testing each one individually. Following these steps can prevent overcurrent and component damage from design or installation errors.


