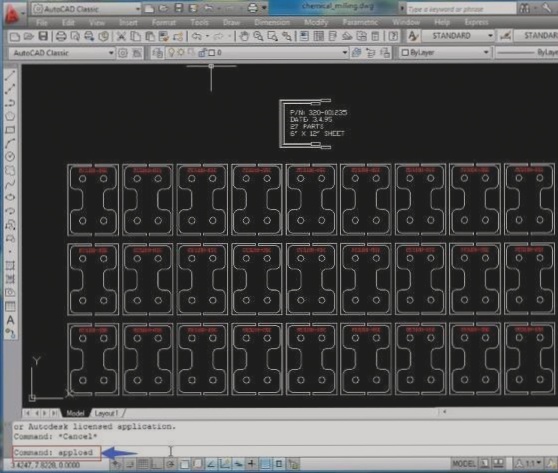
Reprogramming the PCB Assembly Mounter: A Comprehensive Guide
When it comes to PCB assembly, reprogramming the Mounter is a crucial step in ensuring seamless transitions between production runs. This process involves a series of tasks such as system reprogramming, feeder replacement, transport system adjustment, and mounting head configuration. Below is a step-by-step guide to effectively reprogram a PCB assembly Mounter:
Step 1: System Reprogramming
To begin, focus on reprogramming the system. Depending on the Mounter type, you may use manual programming or computer-assisted programming. While manual programming is common in lower-end Mounters, advanced systems like those in large-scale facilities offer full automation for faster and more precise operations.
Step 2: Replacing the Feeder
Next, replace the production feeders. Utilizing “quick-release” feeders can minimize downtime, while feeder frame systems allow for swift component changes based on substrate type. Quick release systems prevent feeder swaps from slowing down the assembly process.
Step 3: Adjusting the Transport and Positioning System
After replacing the feeder, adjust the transport system and substrate positioning table to accommodate any new substrate dimensions. Automated Mounters can make these adjustments programmatically, ensuring quick and accurate changes, while manual adjustments may be required for lower-end machines.
Step 4: Replacing or Adjusting the Mounting Head
Lastly, ensure the mounting head is replaced or adjusted correctly. This step is essential when dealing with new component types or substrate variations. High-end Mounters can handle this automatically, but manual intervention may be needed for smaller brand Mounters to ensure precise component placement.
Conclusion
Reprogramming the Mounter is a meticulous process that demands precision and equipment knowledge. By following these structured steps, operators can smoothly transition between production plans, maintaining efficiency and accuracy in PCB assembly operations, whether through manual or automated methods.
Common Inspection Methods for SMT Mounters
- Visual Inspection
Visual Inspection for SMT Components
- Visual inspection is a crucial method for identifying common faults in Surface-Mounted Technology (SMT) components.
- The process involves examining the PCB for issues such as incorrect wiring, misaligned components, faulty soldering pads, and improper component placement.
- Inspectors use sight, smell, hearing, and touch to detect potential problems.
- Listening for abnormal sounds, smelling for burnt odors, and checking for excessive heat are part of the inspection process.
- Identifying issues early through visual inspection can prevent circuit malfunctions and failures.
Resistance Measurement with Multimeter
- Using a digital multimeter like the MF47, resistance measurements are taken to evaluate the health of resistive components.
- Checking resistors, capacitors, diodes, and transistors for faults or degradation is essential for circuit performance.
- Resistance testing helps identify open circuits, short circuits, and component breakdown that may impact functionality.
- Inspecting for broken or cracked components is necessary to ensure proper circuit operation.
- Regular resistance measurements can prevent circuit failures and ensure component reliability.
Voltage Measurement for Circuit Health
- Utilizing the DC voltage setting on a digital multimeter like the MF47 is crucial for verifying power supply and component voltage levels.
- Measuring voltages within expected ranges ensures proper circuit operation and component functionality.
- Detecting voltage abnormalities can help troubleshoot issues related to power supply, component ratings, or PCB design.
- Checking AC voltage levels aids in identifying power surges or grounding problems that may affect circuit stability.
- Regular voltage measurements are key to maintaining circuit integrity and preventing electrical failures.