PCB Board Rapid Production Machine Operation Guide
Introduction
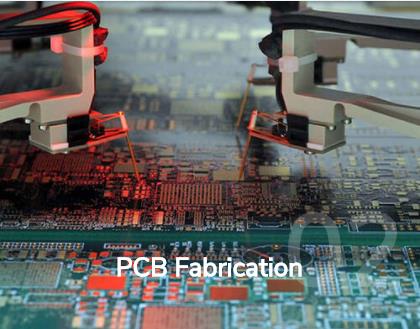
When investing in a PCB board rapid production machine, it’s essential to understand the proper operation to unleash its full potential. Take the time to familiarize yourself with the machine before diving into creating your circuit boards.

Essential Steps for Machine Setup
- Check Your Accessories: Ensure you have all necessary accessories, including manuals, tools, driver CD, copper-clad plates, and more.
- Position the Machine: Connect the machine to your computer and power source correctly.
- Verify Computer Specifications: Make sure your computer meets the required specifications for operation.
Preparing for Production
Before starting the production process, it’s crucial to select the right tools, prepare the workspace, and adjust the machine settings properly.
Engraving and Cutting Process
Follow these steps carefully to execute the engraving and cutting process effectively:
- Adjust the tool position on the copper plate.
- Execute the engraving and cutting process as per the design.
Skills and Precautions
Develop good habits and follow safety precautions while operating the machine:
- Always turn off the spindle power before the main power.
- Ensure tools and drills are securely installed and tightened.
By following these guidelines, you can make the most of your PCB board rapid production machine and create high-quality circuit boards efficiently.
PCB Machine Troubleshooting Tips:
- When the online light is green, the computer and machine are connected.
- If the light turns red, adjust the spindle height and press ONLINE to resume work.
- Flashing lights on startup signal a reset failure; power off and on after a brief pause.
- Machine supports PROTEL ASIC2.8 format; convert to PROTEL99 if needed.
- Include a border line on the KEEPOUT LAYER in your PCB design.
- Check for components outside the engraving range and adjust the circuit diagram.
- If function key is unresponsive, ensure correct serial cable connection and green online light.