PCB Circuit Board Light Painting (CAM) Operation Flow
-
PCB File Inspection
Before production, files undergo checks:
- Verify file integrity
- Conduct virus scan
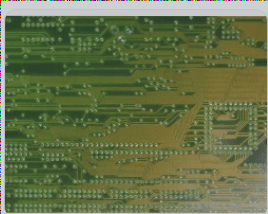
- Review Gerber file
-
Design Compatibility Assessment
Ensure design aligns with manufacturing capabilities:
- Review spacing compliance
- Check wire width
Key Points to Note:
- File integrity and virus scans are crucial.
- Design must match factory capabilities.
- Spacing and trace width checks are vital.
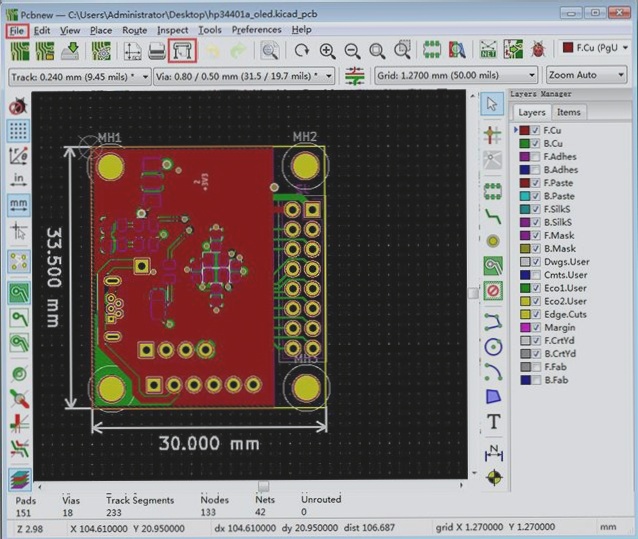
PCB Manufacturing Process Guidelines
-
1. Check Via Hole Size
Ensure via hole diameter meets factory requirements.
-
2. Verify PCB Pad Size and Aperture
Check pad size and aperture for production reliability.
Determining Process Requirements
Establish PCB process parameters based on user needs:
-
Negative Film Mirroring
Determine if mirroring is needed for light-painted film.
- Consider mirroring for screen printing or diazo film exposure.
-
Solder Mask Enlargement Parameters
Ensure proper solder mask sizing to avoid issues with pad alignment.
- Avoid exposing pad edges.
- Prevent interference with electrical connections.
Account for factory solder mask process deviations.
Wire Density
When designing a PCB, consider the wire density. For high-density boards, keep pads close to traces and use a smaller solder mask enlargement to prevent overexposure. Conversely, for low-density designs, a larger solder mask expansion is acceptable.
Additional Process Considerations
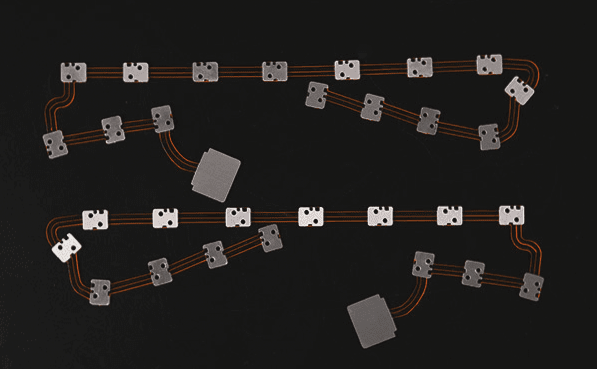
- Golden Finger or Printed Plug: Determine if special processes, such as adding process lines for these features, are required.
- Electroplating: Decide if a conductive frame should be added based on electroplating needs.
- Hot Air Leveling: Evaluate if extra conductive process lines are necessary for tin spraying processes.
- Drilling: Determine if additional pad center holes are needed for drilling.
- Process Positioning: Assess the need for positioning holes for later stages.
- Board Shape: Define outline angles based on the PCB shape.
- Line Width Accuracy: For precise boards with tight line width tolerances, consider line width correction to adjust for side erosion effects based on the factory’s capabilities.
Converting CAD Files to Gerber Files
To standardize management in the CAM process, convert CAD files to Gerber format. Ensure that process-specific parameters are taken into account during this conversion to meet manufacturing requirements. Most CAD software can export directly to Gerber, except for Smart Work and Tango, which can export to Protel format first before conversion.
CAM Processing
During CAM processing, various treatments are applied based on manufacturing parameters. Pay special attention to identifying unusually small features in user files that may require additional treatment to prevent defects.
Light Painting Output
Processed CAM files are used to create light paintings (photomasks) for manufacturing. Layout imposition can be managed in the CAM system or during output. An advanced light drawing system may integrate CAM functions like line width correction directly within the light painting process.
Darkroom Treatment
After light painting, negatives must undergo development and fixation before use in subsequent processes. Key factors in the darkroom include development time affecting optical density and contrast, fixing time impacting background transparency, and washing time preventing yellowing of the base plate. Handle negative film carefully to avoid scratches that could compromise production quality.