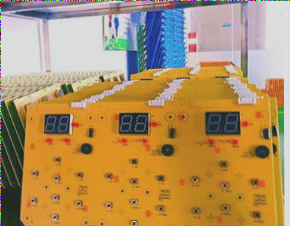
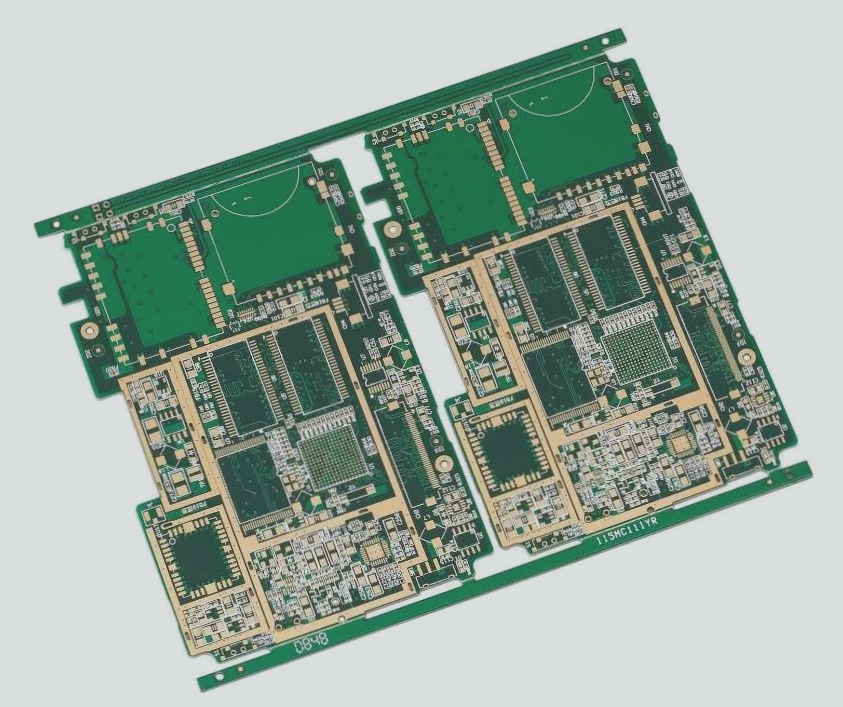
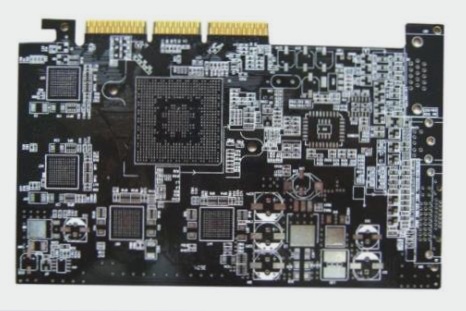
When you see these boards, most people can recognize them. They are green and made of copper, and you can find them in electronics. The assembly process also requires extensive technical support. Without mastering these technologies, the PCB may not function smoothly. Printed circuit board assembly involves soldering all electronic components onto a printed circuit board, comprising many manual and automatic steps. So, let’s delve into the skills of printed circuit board assembly.

PCBA through-hole technology

You can consider this one of the traditional assembly methods. It requires a combination of manual and automatic procedures. During this process, electronic components with leads are inserted through small holes in the PCB. The circuit board is coated with a solder mask. This process is divided into three steps:

1. Component placement

2. Check and correct

3. Wave soldering

The first step is manual. The engineer places the components in their designated locations, using the design files of the circuit board as a guide. This ensures that the designs meet customer needs. Proper component placement is crucial for achieving a high-quality product. Manufacturers adhere to various operating standards and regulations during production.

1. For example, the engineer must continuously verify that the polarity is correct. They need to check the orientation of the component relative to other components on the board. The final placement of components must adhere to the required standards. Some personnel should wear anti-static wrist straps when handling components sensitive to static electricity, such as integrated circuits.

2. The second step is inspection and rectification. Once the components are placed, the circuit board is positioned in a matching frame for transportation. The board must be thoroughly inspected, and all components need to be checked for safety and placement accuracy. If any issues are identified, they should be corrected at this stage, as it is easier to fix problems before the soldering process begins.

3. The final process is wave soldering. This step follows the soldering of through-hole components to the board. The circuit board is passed through a wave of molten solder at very high temperatures, around 500° Fahrenheit. Once this process is complete, the components will be securely attached to the board.

4. Surface Mount Technology (SMT) Method

In this PCB assembly process, electronic components are small and sensitive, such as diodes and resistors. The equipment and soldering materials used are different from those in through-hole soldering.

5. The process here differs significantly from the previous method. It allows for higher manufacturing efficiency, which is why many manufacturers prefer this approach. The process involves pick and place, solder paste printing, and reflow soldering.

6. The process consists of three steps, which we will discuss below.

7. The first step is solder paste printing. In this step, paste is applied to the board using a printing machine. To ensure accurate placement, a stencil or solder mask is used.

8. To assess the impact of solder paste printing quality on soldering results, a solder paste inspector evaluates the printed paste after the process. This inspection ensures compliance with stringent standards. If defects are found, the manufacturer can reprint and clean the board before proceeding to the next step.

9. The second step involves component placement. After the circuit board exits the printer, it is placed on a machine where components, such as integrated circuits, are positioned on the designated pads. The machine uses a component reel to place the components, ensuring they adhere securely to the board.

10. The final step is reflow soldering. In this stage, the board with placed components is passed through a reflow oven. Similar to wave soldering, high temperatures are used to melt the solder, which solidifies to securely attach all components to the board.

11. Hybrid Technology

As electronic products become more integrated and complex, circuit boards are also becoming smaller. It is unusual for a circuit board to contain only one type of component.

12. Most circuit boards feature both through-hole and surface mount components, requiring the integration of both technologies. Managing this process is complex, and it’s crucial to optimize the sequence of these technologies.

13. Printed Circuit Board Assembly – Familiar with the File Format

When selecting a PCB manufacturer, ensure they are experienced with the file formats you plan to use. This is crucial because not all manufacturers handle every file format. The most commonly used formats are CAD and Gerber.

14. File format is a critical aspect of PCB design. Verify that your chosen manufacturer has ample experience with the formats you intend to use.

15. Communicate with Your PCB Assembly Supplier

Engage with your PCB assembly supplier during the design phase rather than waiting until the end. This early communication can provide valuable design insights and help you understand industry standards and new technologies.

16. Utilize all available tools to achieve the best final product. Discuss your needs with your manufacturer during the design phase. Leveraging the latest technology can enhance efficiency and improve the final product.

17. Be Cautious with Offshore Suppliers

While offshore suppliers can offer cost advantages, they come with risks. Some may use substandard components, which can lead to long-term issues and production delays. Ensure you choose a reliable offshore supplier.

18. Avoid Relying on a Single Supplier

Do not rely on a single supplier to meet all your needs. Always have a backup plan to ensure you can maintain design integrity and avoid issues with unavailable parts.

19. Printed Circuit Board Assemblies – Always Name and Label Parts

It is essential to label all components with their names and numbers to minimize errors. Proper labeling is a good practice and prevents confusion, saving time during troubleshooting.

20. Printed Circuit Board Assembly – Make Labels Easy to Read

Ensure that numbering and labeling are clear and easy to read. For instance, label similar parts as Part 1 and Part 2 to avoid confusion and errors.

21. Pay Close Attention to Manufacturing Test Design

Effective manufacturing test design reduces costs, streamlines the trading process, and identifies potential issues, ensuring smooth progress during production.

22. Check Every Trade-Off

Understand your requirements for a well-designed PCB assembly by discussing them with your customers. They can provide feedback to enhance the design and meet all your specifications.

23. Printed Circuit Board Assembly – Test Before Ordering

When placing a large order, avoid falling for discounts without verifying quality. Test the final circuit board product before bulk ordering and consider comparing services from different PCB assemblers to make an informed decision.

Leave a Comment

Contact

WellCircuits
More than PCB

Upload your GerberFile(7z,rar,zip)