PCB Component Soldering Guide
Effective soldering is crucial for a reliable PCB assembly. Follow these best practices to ensure a solid connection and prevent damage to components:
Soldering Resistors
- Positioning: Install resistors correctly with markings facing up and align text consistently for uniformity.
- Height: Ensure resistors are of consistent height for reliability.
- Pin Trimming: Remove excess leads to prevent short circuits and improve appearance.
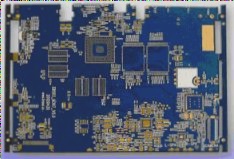
For more information on PCB fabrication, visit wellcircuits.com.
Soldering Capacitors
Install capacitors based on the component list, paying attention to polarity for polarized capacitors.
Soldering Diodes
Install diodes correctly, ensuring polarity markings are visible and limiting soldering time to prevent damage.
Soldering Transistors (BJT or FET)
Install transistors in the correct positions, keeping soldering time short to avoid heat damage.
Soldering Integrated Circuits (ICs)
When soldering ICs, ensure correct insertion and use the right amount of solder to cover pins adequately. Avoid overheating by limiting contact time with the soldering iron.
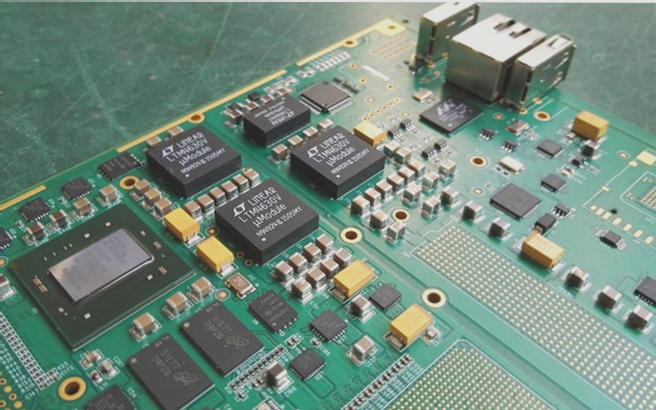
For PCB assembly services, check out wellcircuits.com.
Techniques for Soldering ICs with Closely Spaced Pins
When dealing with integrated circuits (ICs) that have pins closely spaced together, the “solder-pull” technique becomes essential. This method involves delicately pulling solder between the pins using the tip of the soldering iron. By employing this technique, you can guarantee proper pin connections while preventing any unwanted bridges between closely positioned pins.
Key Points to Note:
- Initial Placement: Begin by soldering the diagonal pins of the IC first, without adding solder to the positioning pins. This initial step helps secure the IC in its place. Avoid soldering directly on the positioning pins to prevent any potential misalignment issues.
- Solder Pulling: In cases where the IC pins are tightly packed, resort to the solder-pulling approach. Ensure that the soldering iron tip is small and precise for accurate maneuvering. Additionally, applying rosin can aid in the smooth flow of solder between the pins.
- Temperature Management: Take caution with heat-sensitive components surrounding the IC. To safeguard these parts from heat damage, position a cotton swab soaked in alcohol near the IC while soldering. The alcohol’s evaporation will create a cooling effect, reducing the temperature around the IC and shielding it from excessive heat exposure.
By adhering to these guidelines and maintaining meticulous oversight over soldering duration and temperature levels, you can effectively secure all components through soldering, thereby minimizing the likelihood of harm to delicate elements during the assembly process.